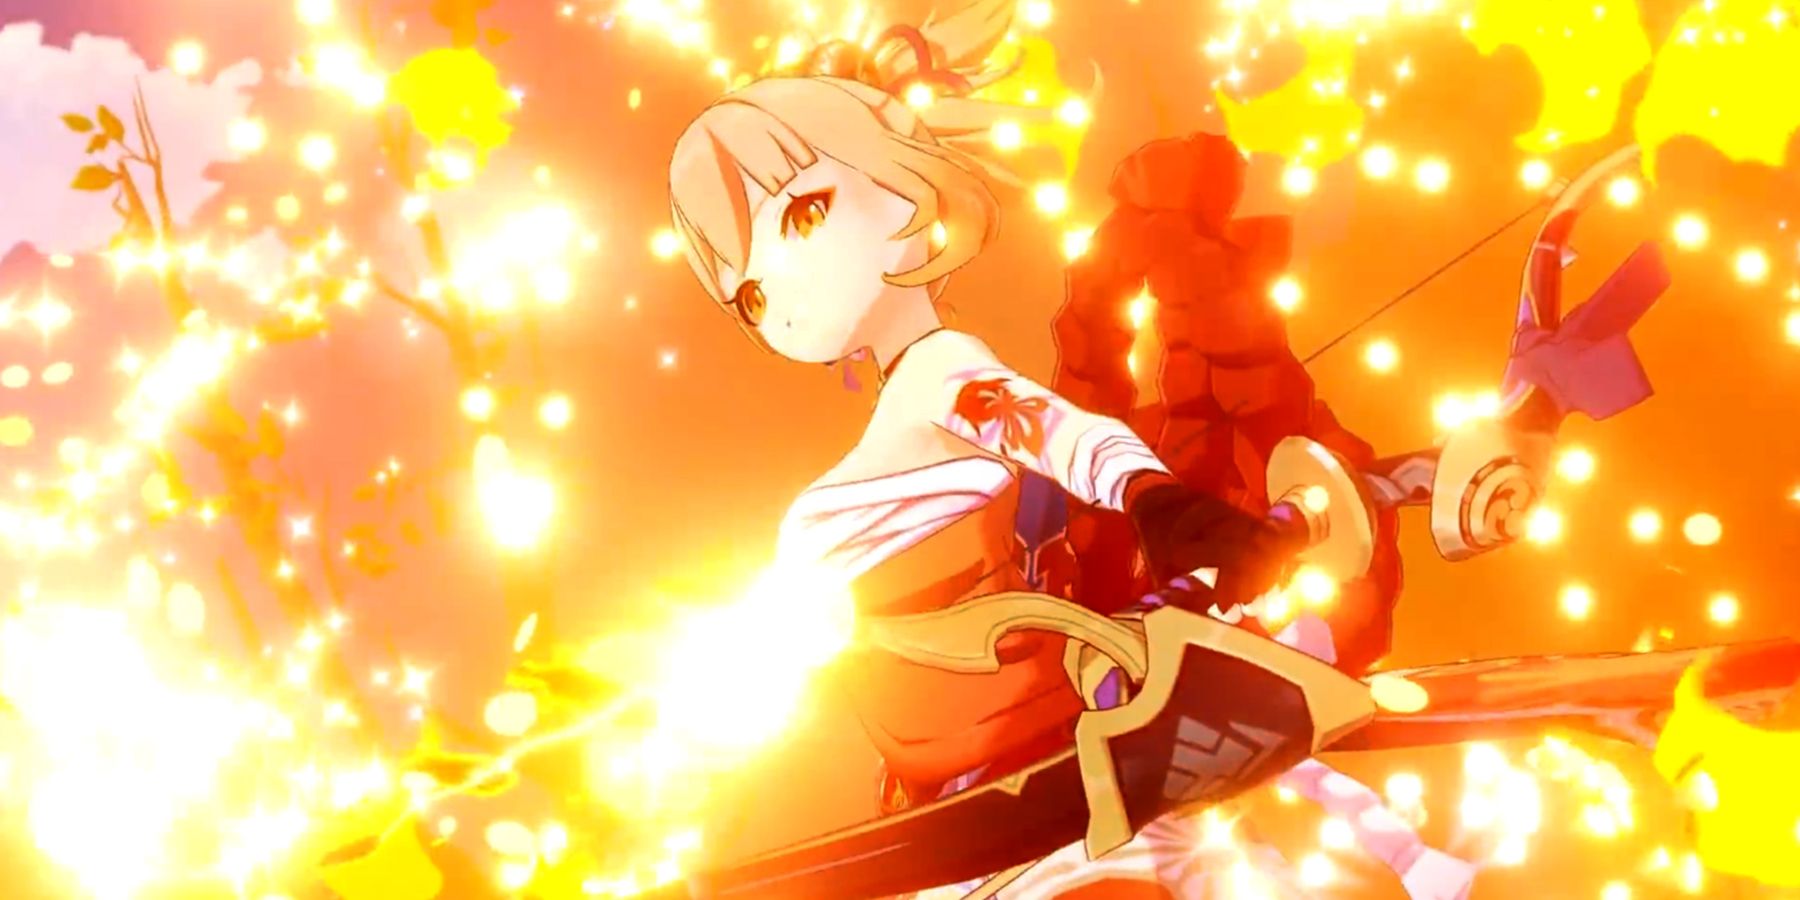
In the vibrant world of Genshin Impact, Yoimiya stands out as a pyro archer with unmatched flair, offering explosive damage potential combined with playful agility. Whether you’re a seasoned player aiming to elevate your Yoimiya to new heights or a newcomer eager to understand her mechanics, mastering the yoimiya build is essential. This comprehensive article dives deep into optimizing every facet of her gear, talents, and team synergizing to unleash her full fiery potential.
Optimizing Yoimiya: A Comprehensive Build Guide
Maximizing Yoimiya’s damage output and gameplay efficiency requires a thoughtful approach to her build. Starting with her role as a pyro DPS, players must balance artifact sets, weapon choices, and team synergy to craft the ultimate firework launcher. Understanding her strengths, weaknesses, and ideal combat scenarios ensures that her build is tailored precisely for maximum benefit.
An optimized Yoimiya build prioritizes high attack and critical stats, focusing on her burn-and-explode style of combat. Her skillset isn’t just about raw damage but also about timing and elemental reactions. A balanced approach considers her thermally reactive capabilities, especially when paired with characters who can generate energy and trigger efficient reactions such as Melt and Vaporize.
Finally, integrating the right artifacts and weapons transforms Yoimiya from a decent damage dealer into a formidable force capable of soloing high-level domains and clearing boss fights with ease. Analyzing her ideal stat priorities and substat optimization can turn her into the go-to pyro DPS for any team composition, whether you’re raiding with friends or exploring solo.
Yoimiya Build: Artifacts, Weapons, and Team Compositions for Maximum DPS
Artifacts are the backbone of any effective yoimiya build. The ideal sets focus on boosting attack and crit stats, with the Crimson Witch of Flames set often standing out for its ability to amplify Pyro damage when used correctly. Conversely, the Shimenawa’s Reminiscence set can be beneficial in specific situations where energy recharge is plentiful, often complemented by a team that mitigates her energy needs.
The choice of weapons directly impacts Yoimiya’s damage potential, with options ranging from free-to-play friendly bows like the Sharpshooters Oath to high-tier 5-star weapons such as the Amos’ Bow and Thundering Pulse. Selecting the perfect weapon depends on your playstyle, weapon availability, and whether you prioritize raw damage, consistency, or burst damage.
Team composition plays a crucial role in maximizing Yoimiya’s DPS output. Pairing her with characters capable of triggering elemental reactions like Melt or Vaporize, such as Bennett, Xingqiu, or Xiangling, can significantly amplify her damage. Additionally, support units that boost her attack or energy regeneration, and shields that provide survivability, ensure she remains effective across battles. Combining her unique pyro talents with the right companions creates a seamless, explosive damage chain.
The Best Yoimiya Builds: From F2P to Whale

Creating an effective yoimiya build doesn’t necessarily require high-spend resources; players across all budgets can find success with tailored strategies. Free-to-play (F2P) players should focus on obtaining accessible artifacts like the Shimenawa’s Reminiscence set and weapons such as Prototype Crescent or The Stringless for consistent damage and energy recharge benefits.
Whale players can invest in premium weapons like Amos’ Bow, Thundering Pulse, or Elegy for the End, which have proven to dramatically boost Yoimiya’s DPS in endgame content. For artifact sets, stacking crit stats and attack should remain a constant goal, but whales can also consider secondary stats like mastery or HP% to refine their builds further.
It’s vital to understand that even at a lower investment, yoimiya build strategies can excel if optimized correctly. Prioritizing high crit rate, crit damage, and attack stats allows F2P players to compete with endgame players by maximizing her burst potential. Conversely, whale players should focus on fine-tuning their artifact substats and weapon synergy to push her to her absolute damage ceiling, especially in challenging domains or spiral abyss.
Yoimiya Talent Priority: Maximizing Her Pyro Potential
Prioritizing Yoimiya’s talents is fundamental in unlocking her full damaging potential. Her expertise in Pyro damage and pyro application depends heavily on the Burst talent “Razzle Dazzle,” which is her primary source of AoE damage during combat. Upgrading this talent first ensures that her explosive damage output consistently scales with her investment.
Second, her Normal Attack “Naganohora Shot” should receive focus, as it forms the core of her sustained damage during rotations. Improving her Skill “NiNo Kumaa” enhances her ability to apply Pyro status to multiple targets, setting off elemental reactions and increasing overall team DPS. The synergy between her talents translates directly into her effectiveness in different combat scenarios.
Finally, talent levels should be balanced based on gameplay style. For burst-heavy players, maxing her Elemental Burst first guarantees a significant boost in explosive damage and reaction triggers. Support characters that assist in energy recharge, meanwhile, can allow players to develop her talents at a more flexible pace without sacrificing overall damage consistency. Proper talent investment is the key to unleashing Yoimiya’s true pyrotechnic prowess.
Yoimiya Weapon Guide: Selecting the Perfect Bow for Your Playstyle
The weapon you choose for Yoimiya significantly influences her damage output and combat versatility. For players aiming for the pinnacle of damage, powerful 5-star options like Amos’ Bow, which boosts attack and increases damage range, are ideal. This weapon enhances her charged shot damage, making her a formidable glass cannon capable of unleashing devastating combos.
F2P or budget-conscious players should consider weapons like Prototype Crescent or The Stringless. While less powerful than their 5-star counterparts, these weapons still provide substantial attack or elemental mastery boosts, which synergize well with Yoimiya’s playstyle. Additionally, Rust and Favonius Warbow offer alternatives that cater to specific team compositions or stratagems that emphasize energy recharge and sustained DPS.
Ultimately, weapon selection should align with your yoimiya build strategy—for burst damage, Amos’ Bow remains dominant; for utility or resource management, less gear-intensive options can still yield impressive results. Personal preference, resource availability, and specific team roles all factor into determining the best bow for your playstyle, and matching weapons to artifact sets maximizes her potential on the battlefield.
Artifact Sets for Yoimiya: Crimson Witch vs. Shimenawa’s Reminiscence
Choosing the right artifact set turns Yoimiya from a decent damage dealer into a devastating pyro powerhouse. The Crimson Witch of Flames is typically regarded as her best set, significantly increasing her Pyro damage when attacking with Overloaded, Burning, or Melt reactions, and providing a notable buff with its 2-piece set bonus.
Alternatively, Shimenawa’s Reminiscence can be tailored for high-damage, energy-starved Yoimiya builds, especially when paired with a high energy recharge team. Its 2-piece bonus increases attack at the cost of increased physical damage taken when you use her Elemental Skill or Burst, which needs careful handling but can massively amplify her normal attack damage when managed properly.
For players aiming for maximum damage output, combining the Crimson Witch set with crit-boosting substats remains the go-to solution. However, strategic use of Shimenawa’s paired with energy recharge and defensive support can be effective in prolonged fights or when facing enemies resistant to pyro reactions, allowing for sustained, consistent damage.
Team Compositions Featuring Yoimiya: Synergies and Elemental Reactions
Yoimiya’s role as a pyro damage dealer is most effective when paired with characters that can trigger elemental reactions like Melt and Vaporize. For maximum DPS, team compositions should revolve around characters who can generate energy fast and apply complementary elements, such as Xingqiu for Hydro or Bennett for attack buffing and healing.
A typical team might include Yoimiya at the core, with a Hydro character acting as a reaction trigger and support. Xingqiu’s sword rain and shields provide both safety and reaction potential, while Bennett enhances her attack and survivability, creating a synergistic environment where her explosions are devastating.
Beyond reaction facilitation, support characters like Kaeya or Xiangling add layers of versatility, enabling multiple reactions and consistent pyro application. Shields from Diona or Ningguang can provide needed survivability, forcing opponents into vulnerable positions for her to unload her barrage of arrows, ensuring her yoimiya build reaches its pinnacle.
Yoimiya’s Ascension Materials and Talent Books: A Farm Guide
Efficiently farming Yoimiya’s ascension materials and talent books is pivotal to her growth. Her ascension relies on materials like Amakumo Fruit, Everflame Seed, and Fading Twilight, which are scattered across specific domains and world bosses. Planning your farming route in advance maximizes time and resource efficiency, allowing continuous ascension progress.
Talent books are primarily found in the Inazuma region, specifically from the “Sealed Scroll” and “Guidance of the Flame” chapters. Additionally, weekly talent domains are the main source for her talent upgrade materials, making it essential to coordinate your farming with her talent level progression needs. Daily expeditions and farming teams dedicated to Inazuma ensure you collect ample resources.
Balancing her build progression with artifact farming is essential as well. As she ascends, her base stats improve, allowing her to maximize the impact of her artifacts and weapons. Consistent resource management and farming routine are essential for unlocking her full potential, enabling you to truly dominate in the pyro damage arena.
Yoimiya Build: Stat Focus and Substat Optimization
When crafting the yoimiya build, certain stats take precedence—attack, crit rate, crit damage, and energy recharge. Attack and crit stats are fundamental because they directly influence her damage output, especially during her elemental burst. Prioritizing crit stats ensures her damage remains high under different combat phases and team compositions.
Substat optimization involves maximizing crit rate and crit damage with the gear chosen, aiming for an ideal crit ratio of approximately 1:2 (crit rate to crit damage). Energy recharge stays important for maintaining her burst uptime, especially if she relies on her elemental skill for continuous pyro application. Gathering substats that enhance her overall DPS while working in harmony with her weapon and artifact set is crucial.
Finally, other secondary stat considerations include attack percentage, pyro damage bonus, and HP% depending on your yoimiya build variation. For example, if you’re running a crit-focused build, ensuring substats are leaned toward crit and attack boosts is vital. Balancing these elements yields the best stat focus to truly elevate her to the upper echelons of damage output.
Beyond the Basics: Advanced Yoimiya Build Strategies
Achieving mastery with the yoimiya build involves moving beyond standard configurations and exploring advanced strategies. For instance, combining her with characters that can manipulate her pyro status or sustain her energy—like Mona or Kazuha—can lead to highly efficient reaction chains and increased damage.
Advanced players often incorporate stacking artifact sets, such as combining Crimson Witch with additional crit or attack substats, to reach new damage milestones. Experimenting with different weapon combinations based on specific content, whether Abyss or boss fights, also allows for tailored damage tactics. Moreover, timing her elemental burst during enemy vulnerabilities or specific reaction windows maximizes her damage potential continuously.
Other strategies include manipulating environmental factors or enemy mechanics—such as positioning for optimal charged attacks or leveraging shields—and using alternate team roles for support and shield-breaking. Mastering the yoimiya build at an advanced level involves a deep understanding of game mechanics, timing, and resource management, which culminates in a pyro archer capable of delivering spectacular explosive attacks consistently.
Conclusion
Mastering the yoimiya build in Genshin Impact requires a well-rounded understanding of artifact sets, weapon choices, talent priorities, and team synergy to unlock her explosive Pyro potential. Whether you’re a casual player or a seasoned whale, optimizing her stats and cultivating complementary team compositions can dramatically elevate her damage output. Through strategic planning of her ascension, talent upgrades, and advanced combat techniques, Yoimiya can shine as one of Inazuma’s premier pyro damage dealers, turning every battle into a fireworks display.
POSTER SEO_SIBATOOL